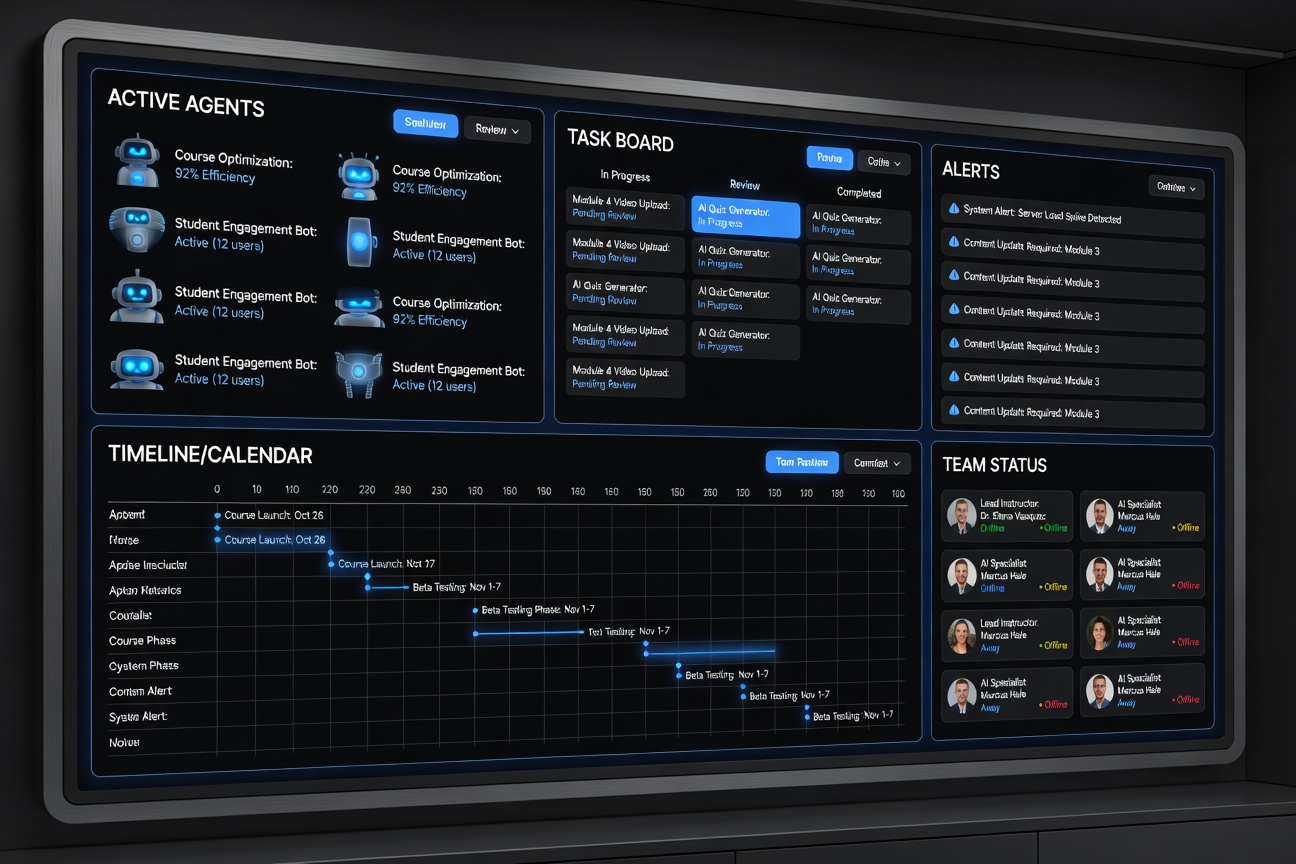
WRITTEN IMPLEMENTATION GUIDE

Build Your Own
AI Army. Step by Step.

This is a practical written guide system β€” not a video course. Users follow one clear build path: unbox a Mac mini, do the core setup, install OpenClaw, create the main agent, add the team, build War Room, and operate the whole system in everyday work.

πŸ“ Written guides, not videos πŸ–ΌοΈ Screenshot walkthroughs πŸ› οΈ Templates + build checklists

A Practical Build System For
Your Own AI Workforce

The curriculum now follows a clear beginner sequence: machine first, then setup, then OpenClaw, then the main agent, then the supporting team, then the War Room dashboard, then the everyday operating rhythm.

🧠

Start With the Real Machine

Begin with the Mac mini unboxing and setup so the whole course feels grounded from day one.

πŸ—οΈ

Build the Main Agent, Then the Team

Create one useful command agent first, then add specialists only after the core setup works.

πŸ–₯️

Stand Up the War Room

Use a War Room-style dashboard with office view, tasks, team visibility, calendar, and operator controls.

βš™οΈ

Use It in Everyday Work

Turn the full setup into a daily workflow with memory, approvals, briefings, and repeatable work loops.

πŸ’Ό

Expand Carefully

Later modules show how to pilot, package, and improve the system without overselling production readiness.

πŸͺŸ

Mac Mini First, Windows Included

The primary path is Mac mini, but Windows users are explicitly accounted for with alternate notes where the setup differs.

The Control Layer Users Are Building

The course is anchored around building a usable control dashboard β€” not just prompts in a chat box. These visuals show the kind of operator environment the curriculum is driving toward.
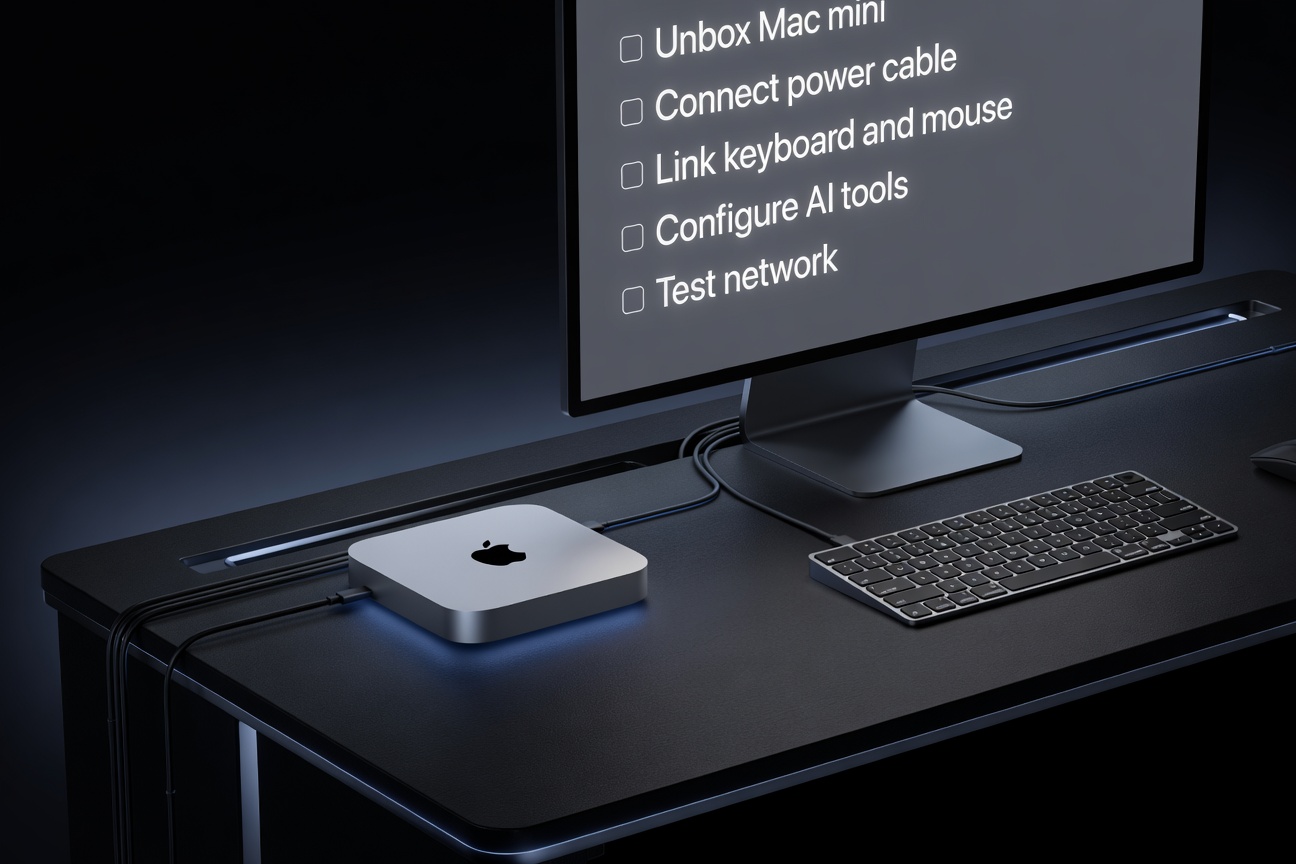
War Room-style dashboard concept for Go AI Army Academy
Mac mini machine setup visual for the course
Step 01

Unbox the Build Box

Students start with a normal workstation setup they can actually picture: desk, machine, monitor, and a simple setup checklist.
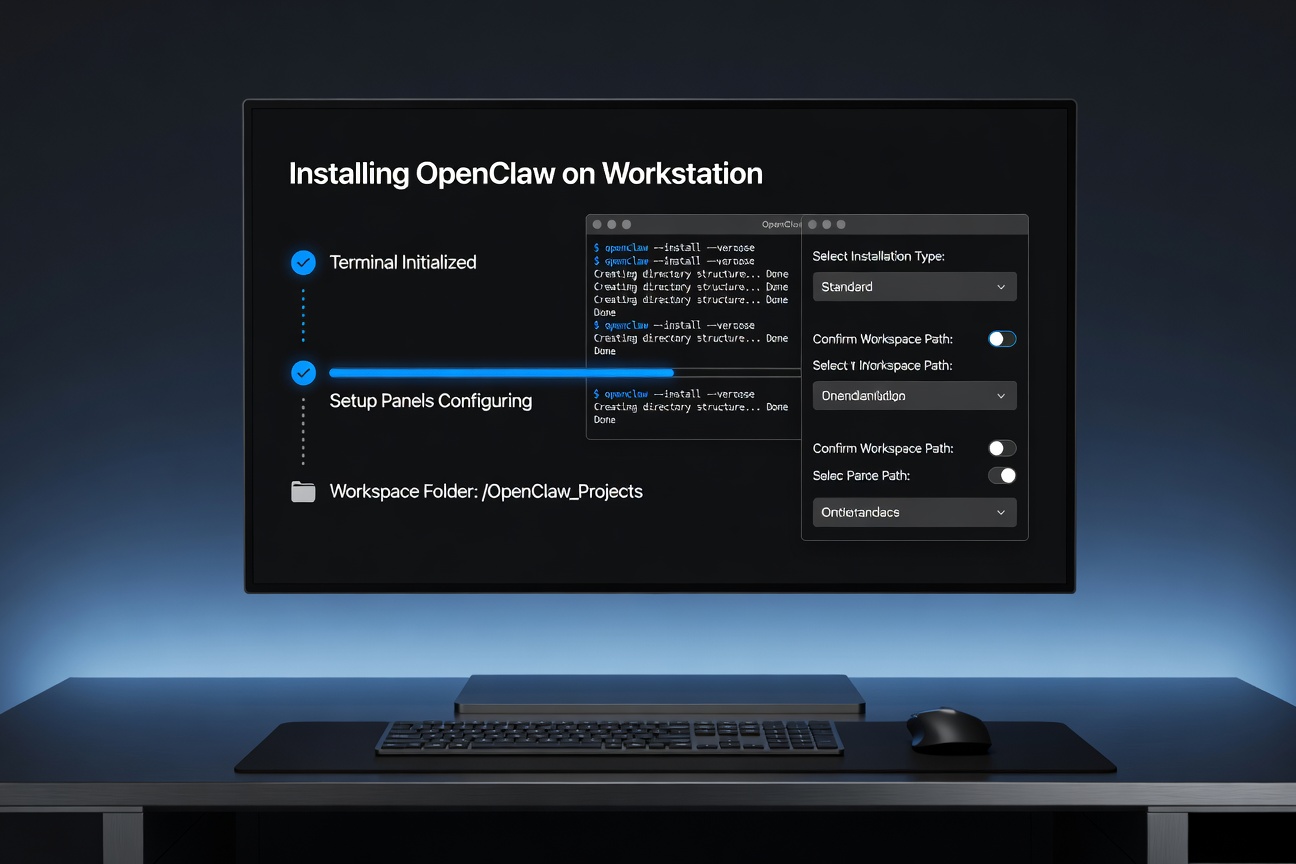
OpenClaw install terminal walkthrough visual
Step 02

Install OpenClaw

A terminal-style support visual shows the OpenClaw install phase so the student knows what this moment should roughly look like before the first launch.

Main agent setup visual showing identity files and first task run
Step 03

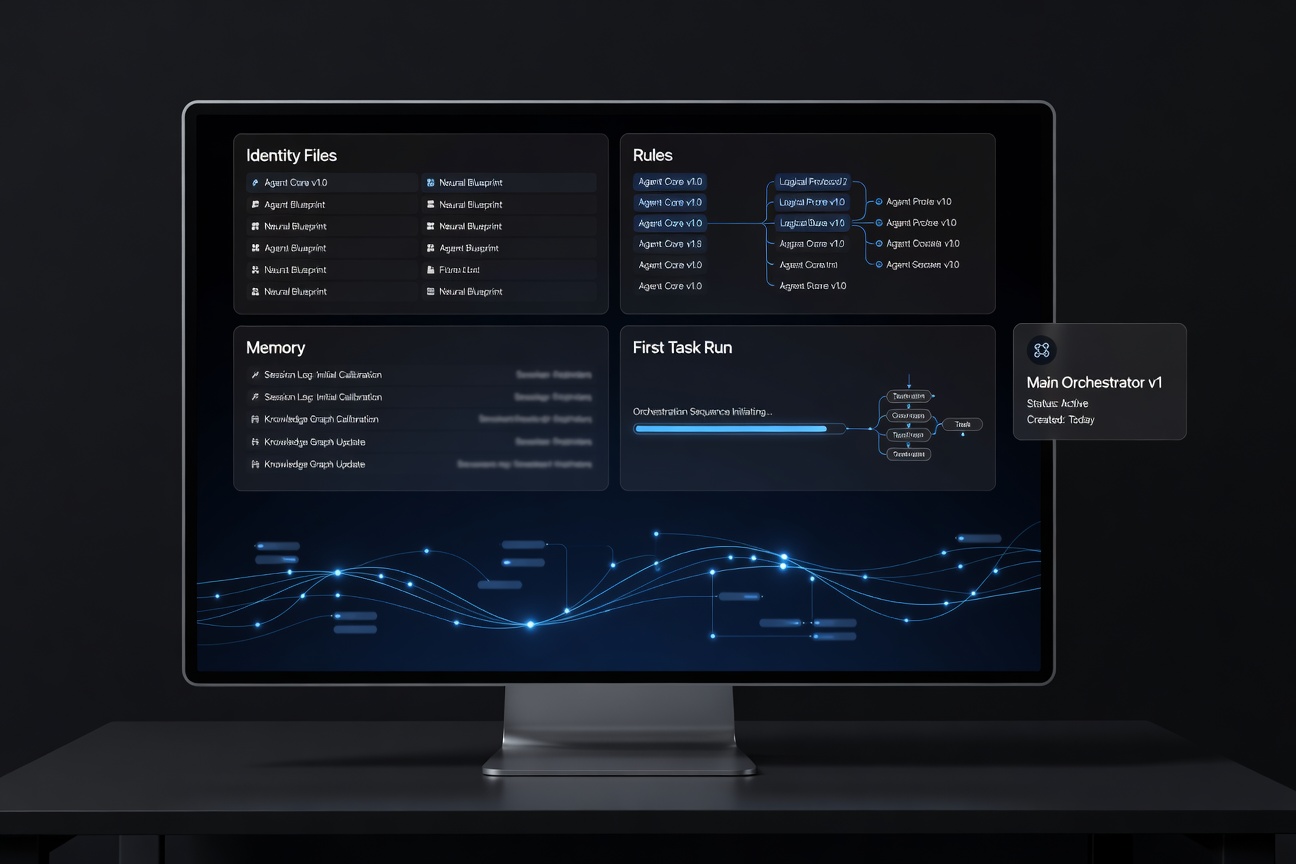
Create the Main Agent

The course now shows the orchestrator as a tangible build: rules, memory, identity files, and the first live task.
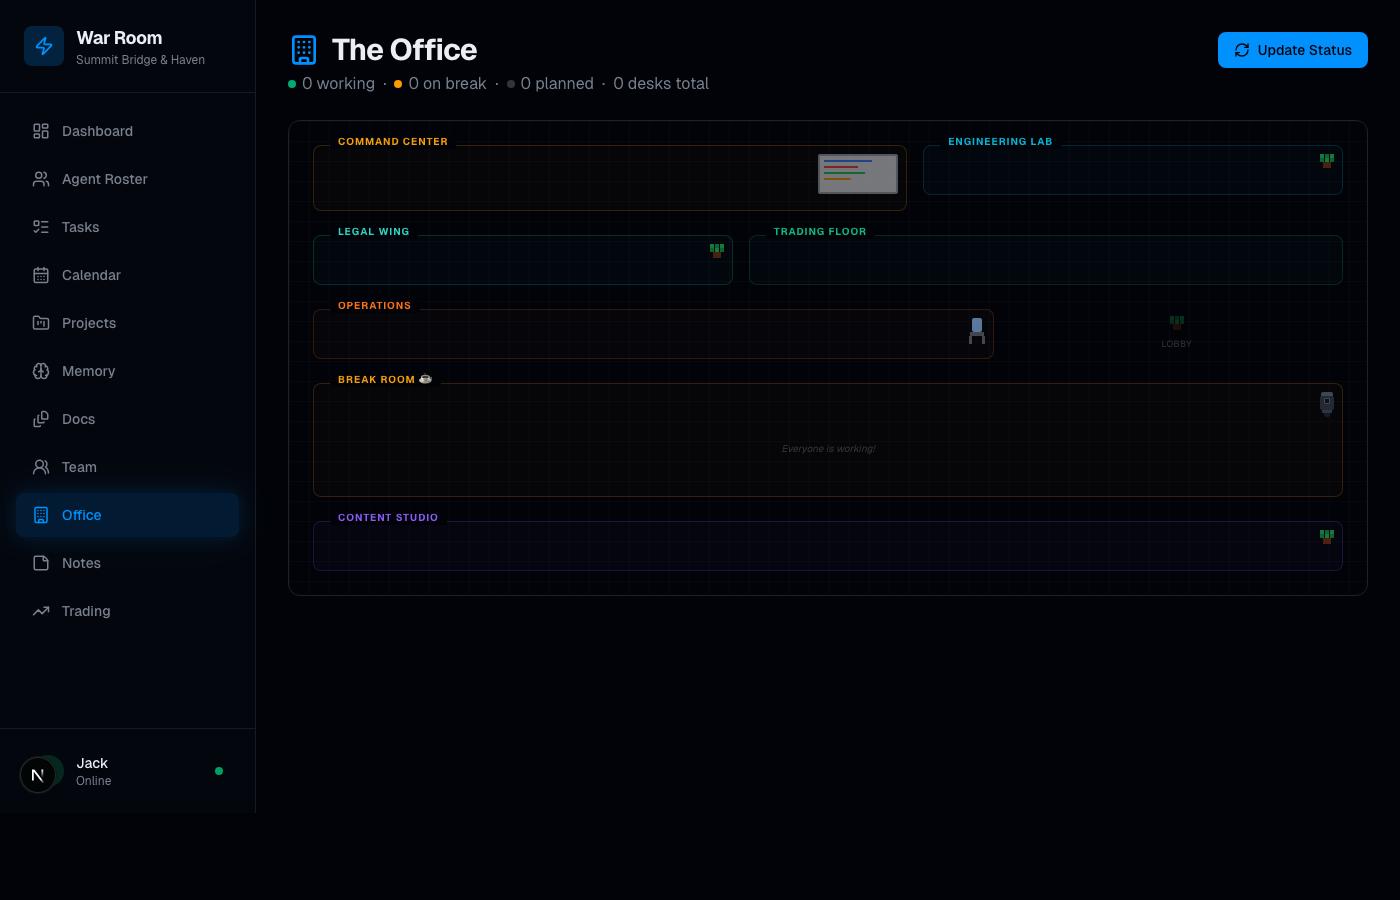
Office view of agents working

Office View

See who is active, what each agent is doing, and where work is moving.
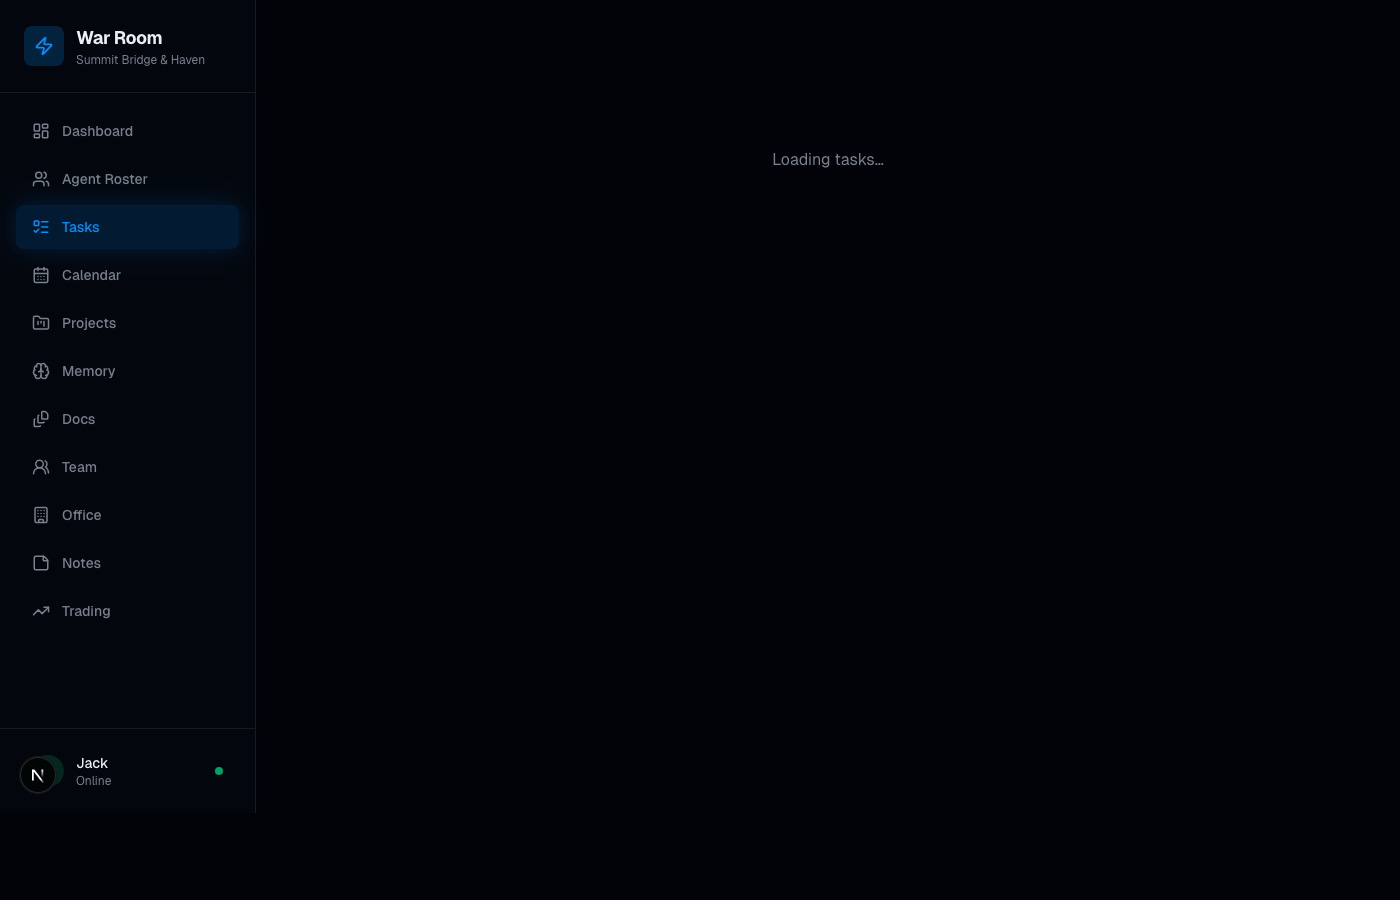
Task board

Task Board

Assign work, move priorities, and track execution across the army.
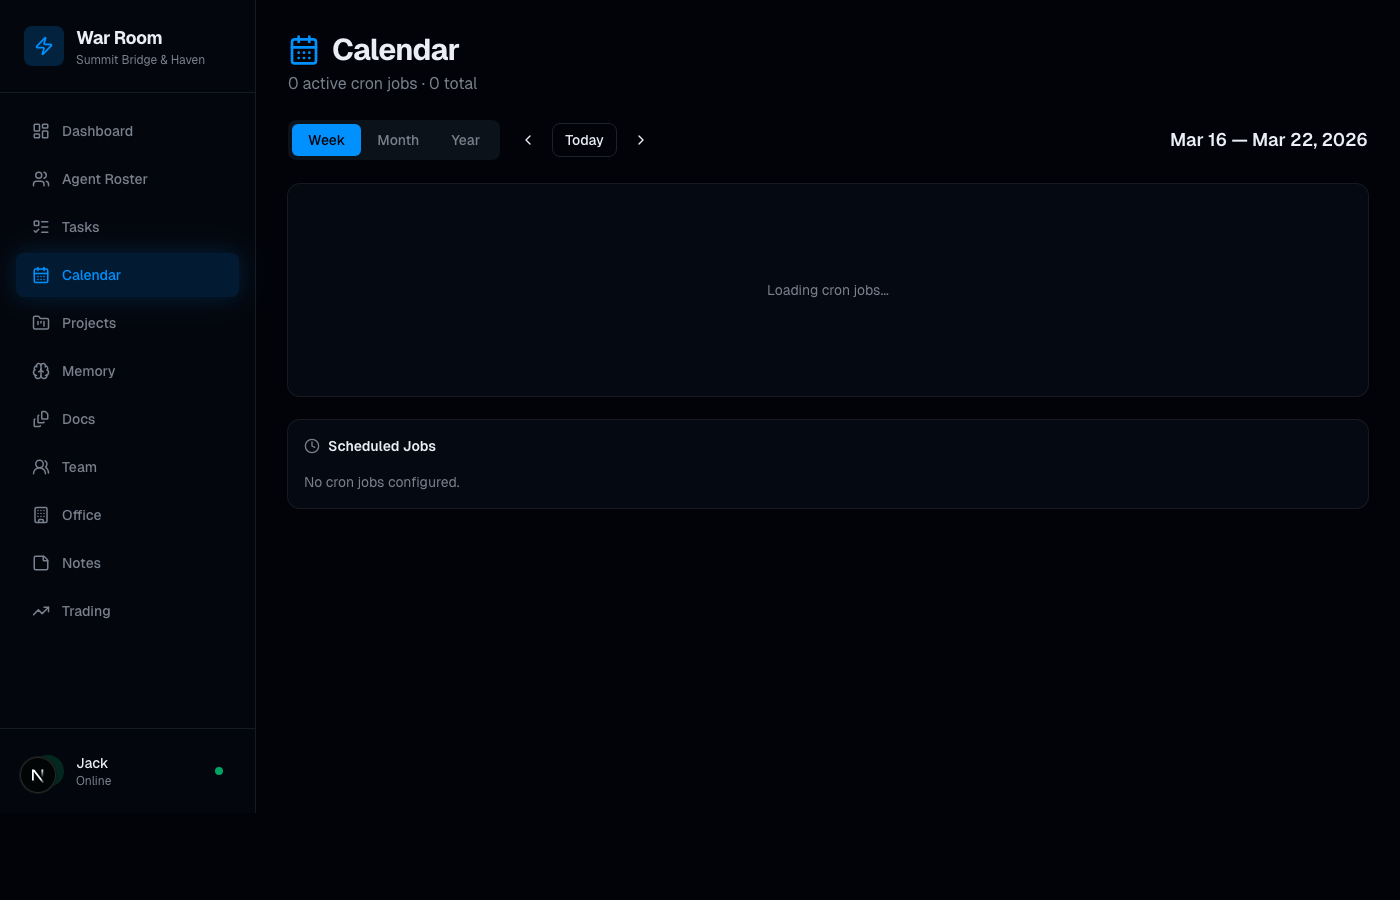
Calendar view

Calendar + Timing

Give the system timing, cadence, and operational rhythm.
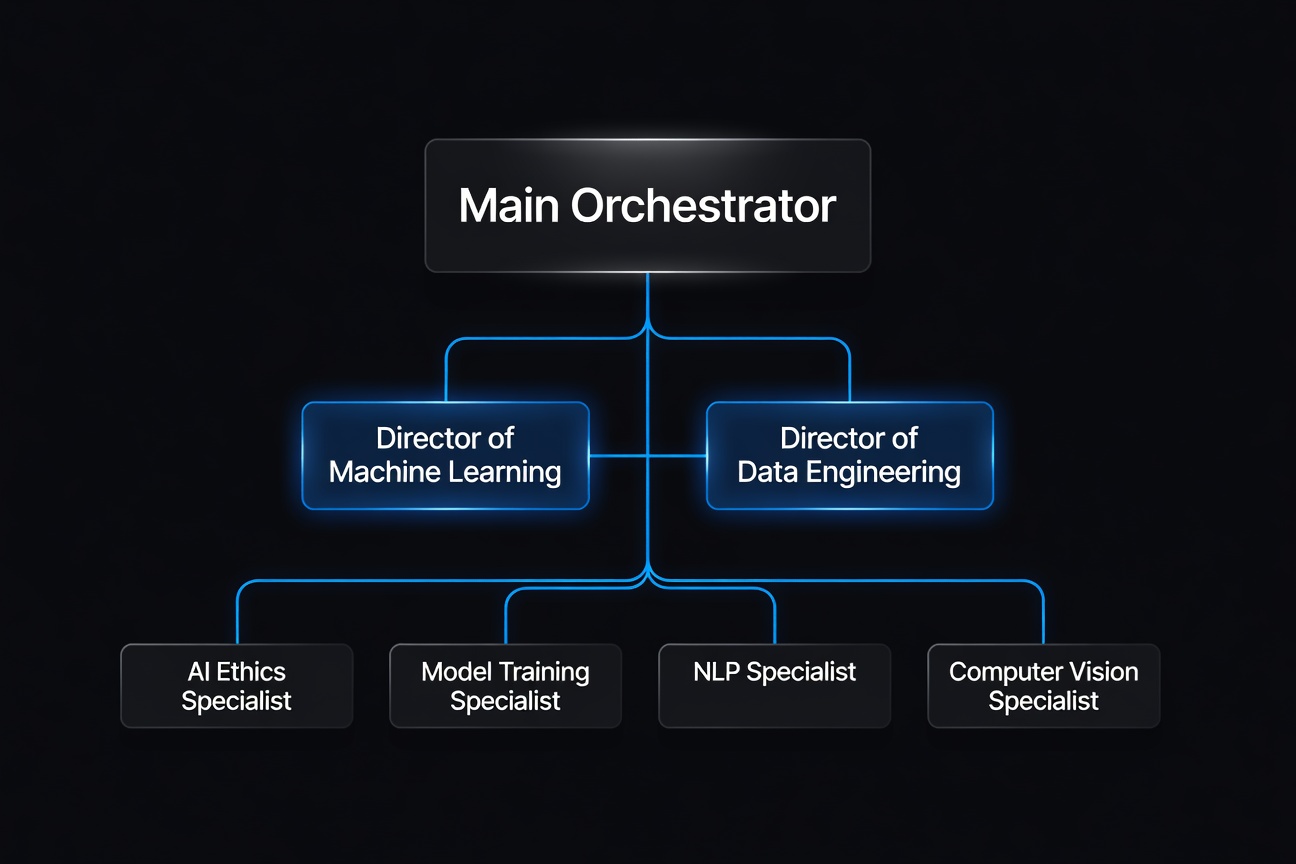
AI team org chart illustration

Team Structure

Map the org chart so the student sees the army as a business system, not a loose set of chats.

10 Modules. Written Guides.
One Obvious Build Sequence.

The delivery is written tutorials, screenshots, templates, and checkpoints β€” organized so the intended path is unmistakable for a beginner.

  • Start with the real machine instead of abstract theory
  • Unbox the Mac mini and set the purpose of the build
  • See the full beginner journey before installing anything
  • Follow the Windows alternate start if needed
  • Finish updates, admin basics, and recovery habits
  • Install the minimum toolchain cleanly
  • Create the project workspace and screenshot habit
  • Use WSL2 guidance on Windows where relevant
  • Install OpenClaw on a clean machine
  • Verify the CLI and workspace before customization
  • Keep the install grounded and beginner-friendly
  • Stay honest about what is and is not built yet
  • Create the main command agent with a clear job
  • Use Opus as the primary orchestrator brain
  • Write identity, rules, and memory starter files
  • Run the first real task before expanding the team
  • Add a small supporting team instead of a bloated org chart
  • Create role cards for each specialist
  • Keep handoffs clear and maintainable
  • Remove roles that do not own real repeated work
  • Make the AI army visible and manageable
  • Use office and task views as the core control layer
  • Add team and timing views for structure and rhythm
  • Keep the dashboard useful instead of decorative
  • Create a simple daily rhythm around the dashboard
  • Add memory so the system compounds over time
  • Introduce recurring workflows carefully
  • Keep the human in charge of approvals
  • Choose a contained pilot workflow
  • Connect only the channels you actually need
  • Collect evidence of usefulness honestly
  • Review the pilot before broadening scope
  • Package the useful version, not the fantasy version
  • Create reusable onboarding and delivery templates
  • Keep claims grounded in proof
  • Scale only after the system earns it
  • Run weekly reviews like an operator
  • Prune agents and workflows before adding more
  • Describe the system honestly as it exists today
  • Keep improving without pretending it is finished forever

Built For Operators.
Not Passive Viewers.

βœ… Strong Fit

  • Entrepreneurs who want leverage without bloated headcount
  • Agency owners who want a real AI systems offer
  • Builders willing to follow written instructions and execute
  • Operators who want a dashboard and process, not just prompts
  • People who want a repeatable system they can keep improving

🚫 Weak Fit

  • Anyone looking for a magic button
  • People who want passive β€œwatch videos and hope” education
  • Buyers who expect instant autonomy without setup work
  • Anyone unwilling to learn the structure behind the system

Written Assets That Help Someone Actually Build

πŸ“

Step-by-Step Written Guides

Clear build instructions organized in sequence so the student knows what to do next.

πŸ–ΌοΈ

Visual Walkthroughs

Custom setup, orchestrator, org chart, and dashboard visuals that make each stage of the build easier to follow.

πŸ“„

Templates & Starter Files

Identity docs, memory patterns, org chart structures, and operational scaffolding.

🧭

Checkpoints & Build Milestones

Students can tell what is complete, what is blocked, and what gets built next.

πŸ–₯️

War Room Dashboard Direction

The course points users toward a control dashboard mindset instead of isolated prompt workflows.

πŸͺŸ

Platform Notes

Mac mini is the first-class path now, with Windows portability intentionally accounted for in the curriculum structure.

What Members Can Access Now
And What Comes Next

This current build shows the course direction, member flow, and curriculum structure while the full production auth, payments, and launch stack continue getting built.

Now

Current member-access build

01 current
  • Public-facing preview page
  • Written-guide positioning
  • Curriculum aligned to existing plan
  • Dashboard screenshots and visual direction
  • Mac mini deployment emphasis
Enter Preview Login

Status: preview-first build. No fake checkout, no fake login, no pretending it’s launched before it is.

Questions & Answers

No. The current direction is a written implementation guide with screenshots, templates, and build checkpoints.

Mac mini is the primary path right now. The curriculum is being structured so a Windows version can be added cleanly later without rebuilding the whole offer.

Yes. The command center is a core part of the promise. Students are not just learning agents β€” they’re learning how to operate them from a centralized dashboard.

Not in this preview build. Payment and member access are next-phase work after the offer and curriculum direction are approved.

Not yet. This public preview is for positioning, design, and curriculum review. Protected access comes in the next build.

Build The System. Then Scale It.

Go AI Army Academy is being shaped into a practical implementation path β€” written, visual, and operational.